
山脉高度可视化
基于THREE.JS 实现3d山脉高度可视化
前言:
因项目需要,要实现一个基于3d的山脉地形可视化,本次是作为前期调研时实现的一个DEMO,内容仅供参考,如果您有兴趣或是有其它不同的见解或困惑等可在下方留言讨论。
效果预览:
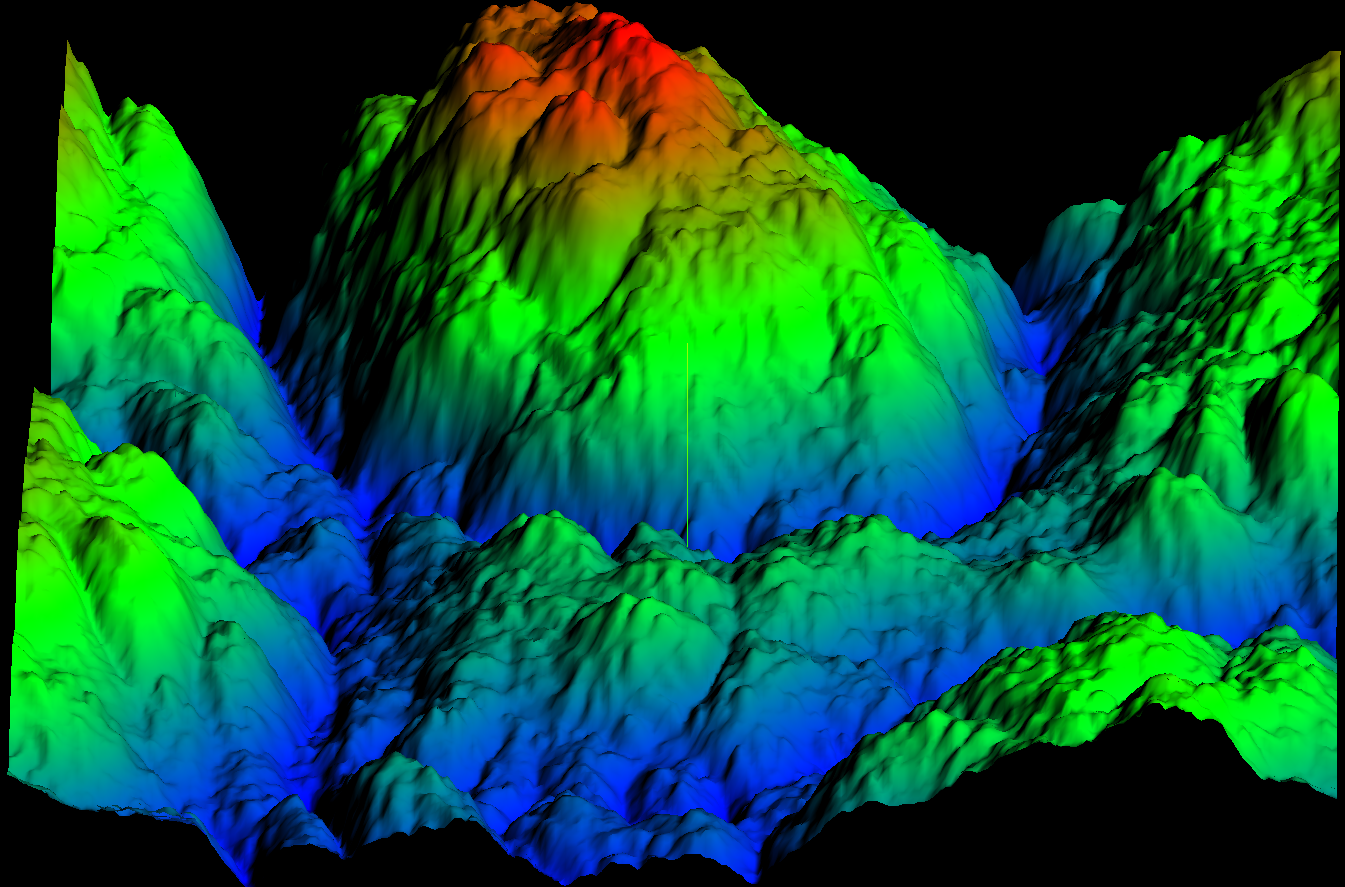
基本要求:
- 基于Vite脚手架,Vite版本为"7.1.2",本Demo中不支持TS。
- three.js 版本为"0.148.0"。
安装Three.js时需要注意版本,不同版本里面的插件库等引入方式不同、功能属性也不相同,本次Demo所用版本为0.148.0。
- 模型:有关模型你可前往爱给网进行下载点我链接直达
# vite 脚手架创建指令
npm create vite@latest

# three.js
npm i three@0.148.0
构建基本场景:
要将three.js中的场景映射到界面中,需要重要的三要素,分别是,场景 - Scene、相机 - Camera、渲染器 - Renderer
这三个要素分别模拟了,空间,肉眼、照相机,当然这不是本偏的重点详情,只在此处随带一提。
<template>
  <div class="demo" id="demo">

  </div>
</template>

<script setup>
import * as THREE from "three";
import {onMounted } from "vue";
import { OrbitControls } from "three/examples/jsm/controls/OrbitControls.js"


const init = async () => {
  // 设置渲染尺寸
  const width = window.innerWidth;
  const height = window.innerHeight;

  // 构建场景
  const scene = new THREE.Scene();

  // 构建平行光,用于模拟太阳光
  const directionalLight = new THREE.DirectionalLight(0xff5555, 2);
  directionalLight.position.set(150, 150, 150);
  scene.add(directionalLight);

  // 光源可视化
  const directionalLightHelper = new THREE.DirectionalLightHelper(directionalLight);
  directionalLightHelper.color = new THREE.Color().set("#ec407a")
  scene.add(directionalLightHelper);

  // 透视投影相机
  const camera = new THREE.PerspectiveCamera(3, width / height, 1, 3000);
  camera.position.set(500, 500, 500);
  scene.add(camera);

  // 坐标辅助观察器
  const axes = new THREE.AxesHelper(100);
  scene.add(axes)

  // 构建渲染器
  const renderer = new THREE.WebGLRenderer();
  renderer.setSize(width, height);
  renderer.render(scene, camera);

  // 相机控件
  const orbitControls = new OrbitControls(camera, renderer.domElement);
  orbitControls.addEventListener("change", () => {
    renderer.render(scene, camera);
  })

  document.getElementById('demo').appendChild(renderer.domElement);

  function updateRender() {
    requestAnimationFrame(updateRender);
    renderer.render(scene, camera);
  }

  updateRender();
}

onMounted(() => {
  init();
})
</script>

<style>
* {
  margin: 0;
  padding: 0;
}

html,body, .demo, #app {
  width: 100%;
  height: 100vh;
  overflow: hidden;
}

</style>
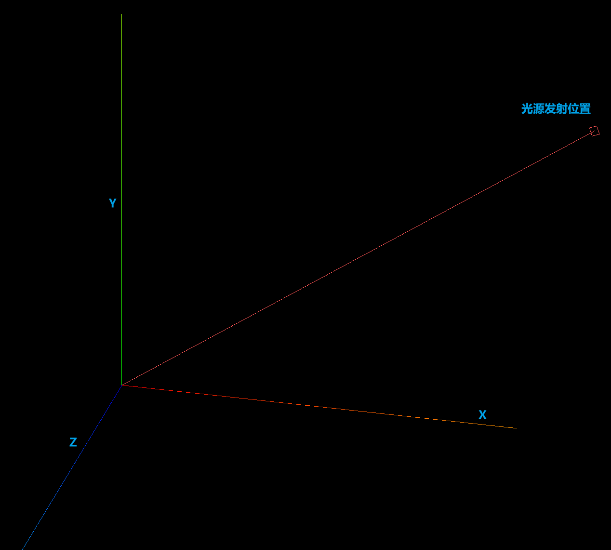
当我们完成上述代码后运行可在游览器观察到如下界面,当然你会发现光源发射位置和视线重叠了,你只需按住鼠标左键旋转就能更好的观察到它了。
模型处理:
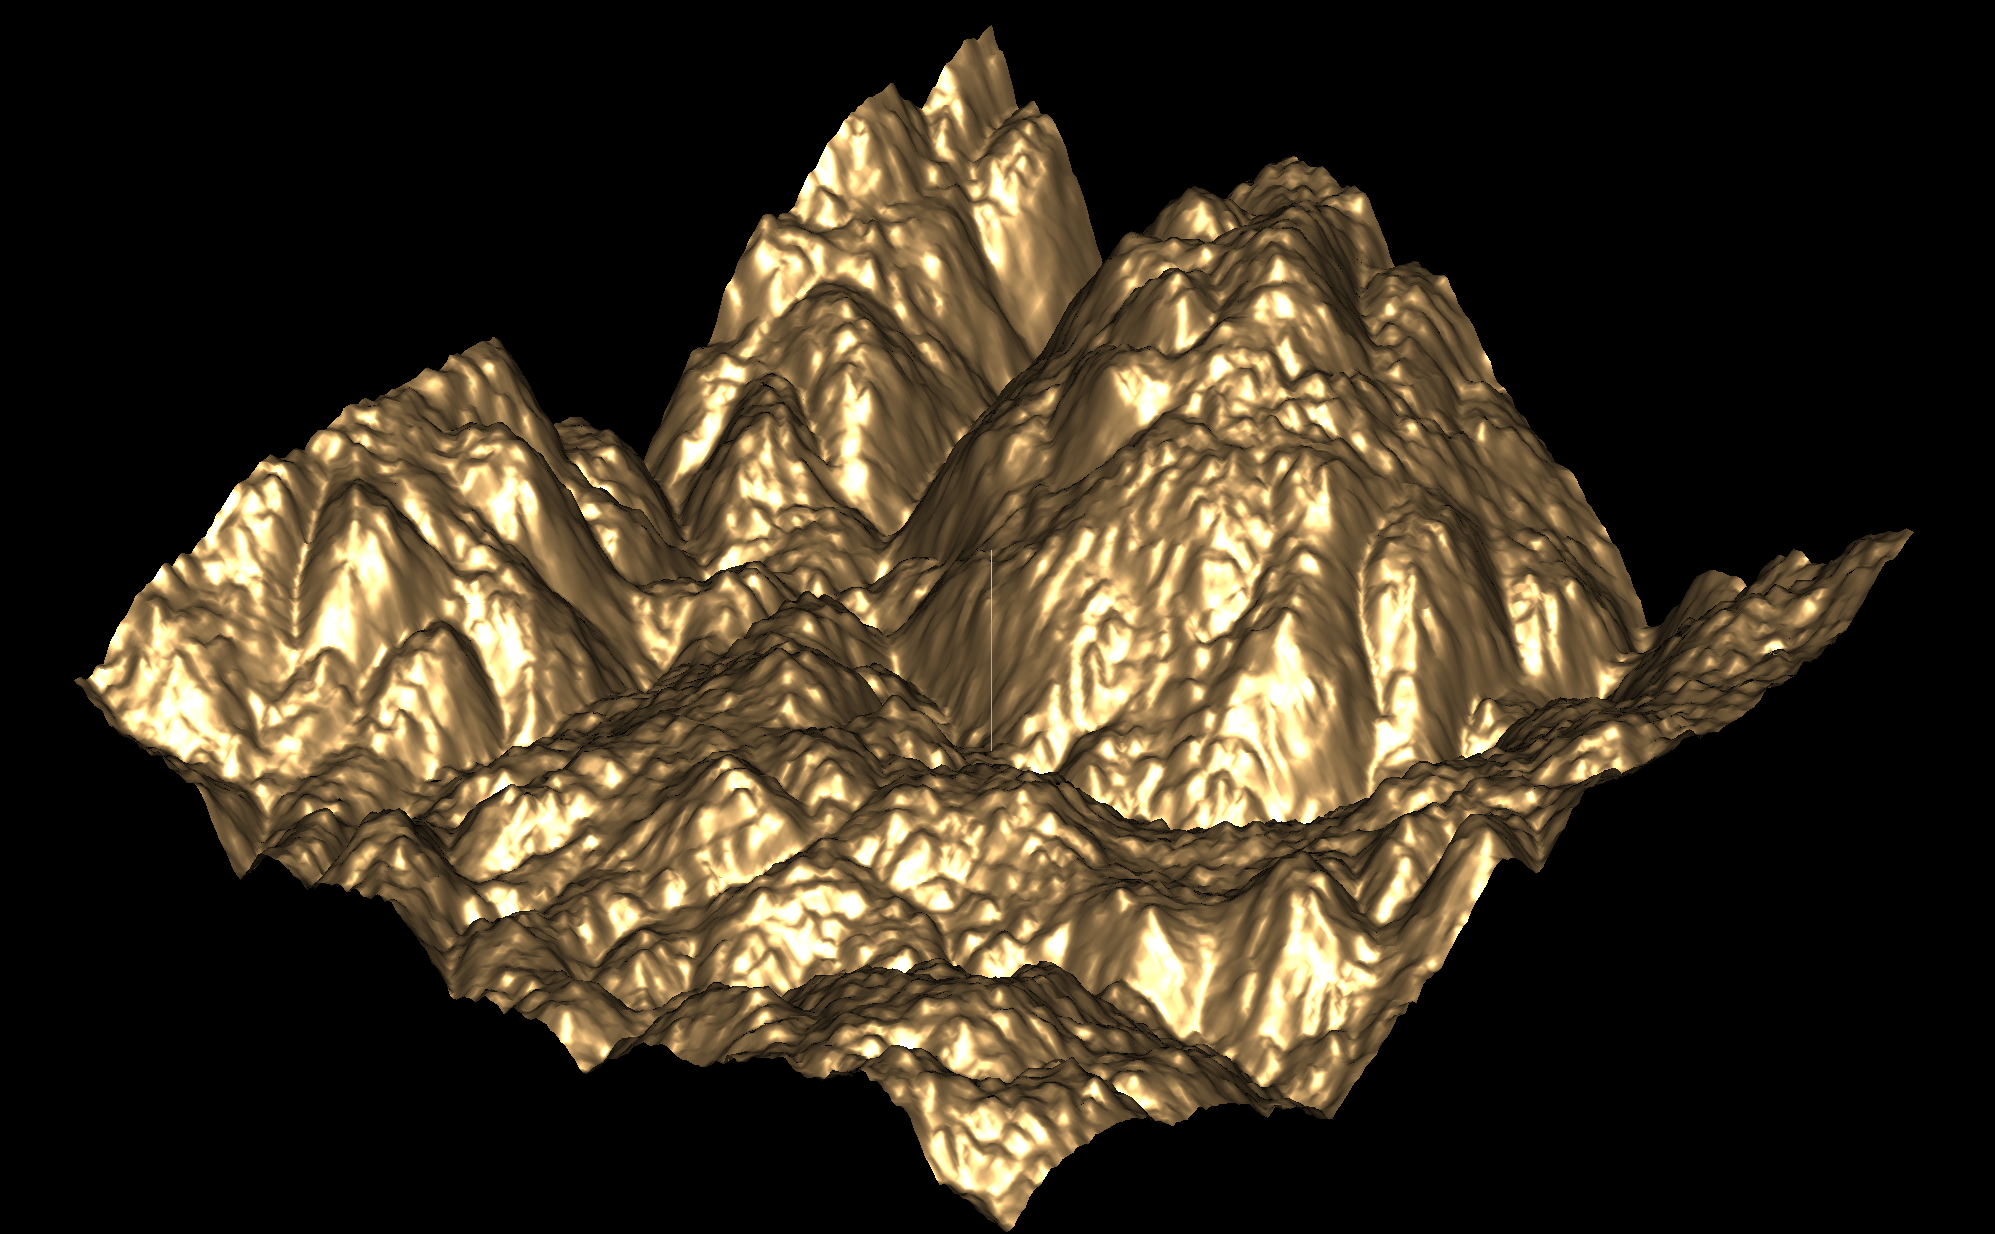
接下来让我们稍作修改,将场景、相机、渲染器的变量踢出到全局,并加载模型,图片参考代码下方。
import * as THREE from "three";
import {onMounted } from "vue";
import { OrbitControls } from "three/examples/jsm/controls/OrbitControls.js"
import { GLTFLoader } from "three/examples/jsm/loaders/GLTFLoader.js"

// 场景,相机,渲染器
let scene, camera, renderer;

// 加载模型
const loadModel = () => {
  // 导入模型
  const loader = new GLTFLoader();
  loader.load("/src/assets/地形.glb",(gltf) => {
    scene.add(gltf.scene);
  })
}

const init = async () => {
  // 设置渲染尺寸
  const width = window.innerWidth;
  const height = window.innerHeight;

  // 构建场景
  scene = new THREE.Scene();

  // 构建平行光,用于模拟太阳光
  const directionalLight = new THREE.DirectionalLight(0xffffff, 1.2);
  directionalLight.position.set(8000, 8000, 8000);
  scene.add(directionalLight);


  // 透视投影相机
  camera = new THREE.PerspectiveCamera(3, width / height, 1, 10000);
  camera.position.set(5000, 5000, 5000);
  scene.add(camera);

  // 坐标辅助观察器
  const axes = new THREE.AxesHelper(100);
  scene.add(axes)

  // 构建渲染器
  renderer = new THREE.WebGLRenderer();
  renderer.setSize(width, height);
  renderer.render(scene, camera);

  // 相机控件
  const orbitControls = new OrbitControls(camera, renderer.domElement);
  orbitControls.target.set(0, 60, 0);
  orbitControls.addEventListener("change", () => {
    renderer.render(scene, camera);
  })
  orbitControls.update();

  document.getElementById('demo').appendChild(renderer.domElement);

  function updateRender() {
    requestAnimationFrame(updateRender);
    renderer.render(scene, camera);
  }

  updateRender();
  loadModel();
}

onMounted(() => {
  init();
})
渐变实现:
思路是先确定山脉模型的结构,这里用了Blender建模软件确定,也可以直接在控制台中打印gltf.scene,然后抽取山脉所有Y轴的顶点属性,并获取最高点和最低点的数据,用最高点减去最低点就可以获得山体的整体高度,这里你可能会疑惑用最高点不就行了吗,为什么还要相减,因为你的模型最低点可能不是设置在0上,有可能是存在一定偏移的,然后创建一个颜色数组,用于设置每个阶段的颜色,在循环顶点,计算每个顶点之间的色彩值,并将结果保存为一个新数组,最后重设山脉的顶点颜色和材质。
在下文中,一共预设了三个颜色,其中在计算时的<=0.5,这个0.5是代表山谷到山腰的分割线,大于该值则认为是从上腰到山顶,每个阶段的颜色不一样所以如果你打算多添加几个色彩的话,也要调整好这个阈值同时也要添加条件判断。
// 加载模型
const loadModel = () => {
  // 导入模型
  const loader = new GLTFLoader();
  loader.load("/src/assets/地形.glb",(gltf) => {
    // 提取最高的山体,可通过建模软件查看或通过console.log(gltf.scene)查找
    const mountain = gltf.scene.children[0];

    // 获取物体顶点属性
    const positionPoint = mountain.geometry.attributes.position;
    // 提取所有顶点中的Y轴数据,Y轴代表高度,其中positionPoint.count代表有多少个顶点
    const dataY = [];
    for (let i = 0; i < positionPoint.count; i++) {
      dataY.push(positionPoint.getY(i))
    }
    // 获取上顶和山底的数据几最高点和最低点
    const info = {
      max: Math.max(...dataY),
      min: Math.min(...dataY)
    }

    // 获取山脉整体高度
    const h = info.max - info.min;

    // 创建颜色数组,从前到后分别是从山谷到山顶映射的颜色
    const colors = ['#0000ff', '#00ff00', '#ff0000'].map(r => new THREE.Color().set(r));
    // 顶点颜色数组
    const colorsArr = [];

    // 计算每个顶点的颜色,即当前点到下一个顶点之间的色彩
    for (let i = 0; i < positionPoint.count; i++) {
      const percentage = (positionPoint.getY(i) - info.min) / h;

      let c = null;
      // 计算顶点颜色,对颜色进行混合并渐渐变淡,每个值的结果都是0-1.
      if (percentage <= 0.5) {
        c = colors[0].clone().lerp(colors[1], percentage * 2);
      } else {
        c = colors[1].clone().lerp(colors[2], (percentage - 0.5) * 2);
      }

      colorsArr.push(c.r, c.g, c.b);
    }

    // 设置几何体的顶点颜色
    mountain.geometry.attributes.color = new THREE.BufferAttribute(new Float32Array(colorsArr), 3);
    // 更换材质为漫反射
    mountain.material = new THREE.MeshLambertMaterial({
      vertexColors: true
    })
    scene.add(gltf.scene);
  })
}
至此结束。